
Page 10 - Jarlin Product Catalog 2019
P. 10
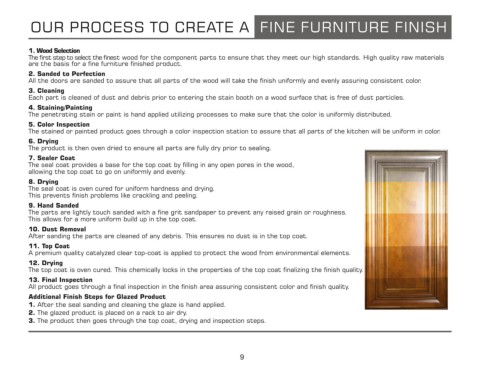
OUR PROCESS TO CREATE A FINE FURNITURE FINISH
1. Wood Selection
The rst step to select the nest wood for the component parts to ensure that they meet our high standards. High quality raw materials
are the basis for a ne furniture nished product.
2. Sanded to Perfection
All the doors are sanded to assure that all parts of the wood will take the nish uniformly and evenly assuring consistent color.
3. Cleaning
Each part is cleaned of dust and debris prior to entering the stain booth on a wood surface that is free of dust particles.
4. Staining/Painting
The penetrating stain or paint is hand applied utilizing processes to make sure that the color is uniformly distributed.
5. Color Inspection
The stained or painted product goes through a color inspection station to assure that all parts of the kitchen will be uniform in color.
6. Drying
The product is then oven dried to ensure all parts are fully dry prior to sealing.
7. Sealer Coat
The seal coat provides a base for the top coat by lling in any open pores in the wood,
allowing the top coat to go on uniformly and evenly.
8. Drying
The seal coat is oven cured for uniform hardness and drying.
This prevents nish problems like crackling and peeling.
9. Hand Sanded
The parts are lightly touch sanded with a ne grit sandpaper to prevent any raised grain or roughness.
This allows for a more uniform build up in the top coat.
10. Dust Removal
After sanding the parts are cleaned of any debris. This ensures no dust is in the top coat.
11. Top Coat
A premium quality catalyzed clear top-coat is applied to protect the wood from environmental elements.
12. Drying
The top coat is oven cured. This chemically locks in the properties of the top coat nalizing the nish quality.
13. Final Inspection
All product goes through a nal inspection in the nish area assuring consistent color and nish quality.
Additional Finish Steps for Glazed Product
1. After the seal sanding and cleaning the glaze is hand applied.
2. The glazed product is placed on a rack to air dry.
3. The product then goes through the top coat, drying and inspection steps.
9